Build OpenNI1.5 on Mac
OpenNI
OpenNI = Open Natural Interaction. 開放式自然相互作用(我到底在寫什麼 … Orz)
簡單的說 有點像是將身體的姿勢與擺動作或是聲音作為一種輸入裝置,讓系統做出對應的行為或是判斷;最常看的應該就是微軟當年在X-Box推出的Kinect.
Kinect所使用的OpenNI的晶片組,是由一間名為PrimeSense的以色列公司生產,而OpenNI專案的開發與維護也是由PrimeSense所主導. 不過該公司目前已經被Apple收購
OpenNI主要分成兩個大版本:1.5x 與 2.2x;這兩個版本不能互相相容,使用上也有些不一樣,本文以針對1.5為主.
Setup build environment
- 請先安裝 XCode (Using App Store),如果可以先可以先申請為 Apple Develpoer.
- 請先安裝XCode command line tools ->
xcode-select --install - 安裝 Doxygen
$ brew install doxygen - 安裝 GraphViz
$ brew install graphviz - 安裝 Mono
$ brew install mono git clone https://github.com/OpenNI/OpenNI.git- 要安裝 libusb. 因為 MacPort 我裝不進去,使用 Homebrew 安裝的版本太新(1.0.21,但是需要的是1.0.8). 建議使用剛剛clone下來的 libusb:
- 請先到剛剛clone的目錄,然後進到
cd Platform\Linux\Build\Prerequisites\ - 解壓縮
tar -xvjf libusb-1.0.8-osx.tar.bz2 cd libusb->./autogen.sh./configure LDFLAGS='-framework IOKit -framework CoreFoundation -arch i386 -arch x86_64 ' CFLAGS='-arch i386 -arch x86_64' --disable-dependency-tracking --prefix=/opt/localmakesudo make install- 此時應該會把libusb裝到
/opt/local/
vim Platform/Linux/CreateRedist/install.sh將所有/usr/路徑修改為/usr/local/. Ex:/usr/bin->/usr/local/binvim Platform/Linux/Build/Makefile同上修改vim Samples/NiViewer/glh/glh_linear.h: 因為equivalent(a,b)似乎與macOS內建的function有重複定義. 所以將glh_linear.h中有equivalent修改為glh_equiv
Build
cd Platform/Linux-x86/CreateRedist, 執行./RedistMaker, 此時應該會開始build了. 如果沒報error就是build成功了.Platform/Linux-x86/Redist然後sudo ./install.sh就大功告成了.
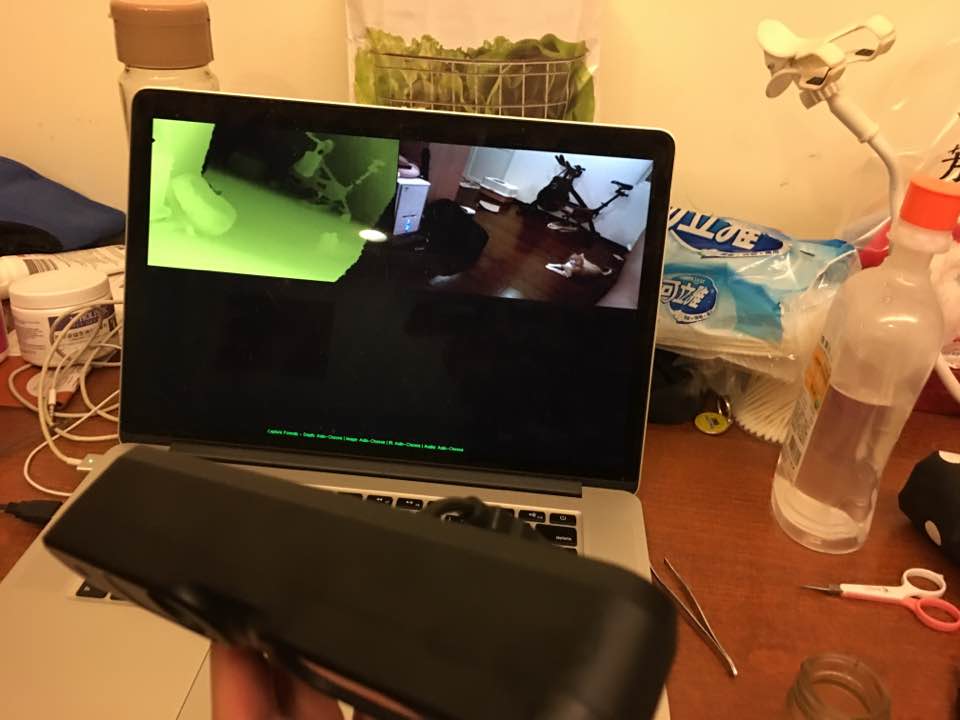
附上成功執行NiViewer的圖片